简言
在初步了解了Wordpress之后,我们这里来尝试搭建一下Wordpress。其实这个相比于其他的搭建博客方式算是比较简单的了。像使用hexo+github搭建的方式使用的人也很多,这些方式还需要了解一些基本的命令行知识和git操作。来来来,话不多说这里我们一步一步记录我们的实践教程。
了解Wordpress
1 | https://blog.csdn.net/liuxiangyang_/article/details/100527670 |
一、准备开始工作
1.准备一台服务器或者个人虚拟机
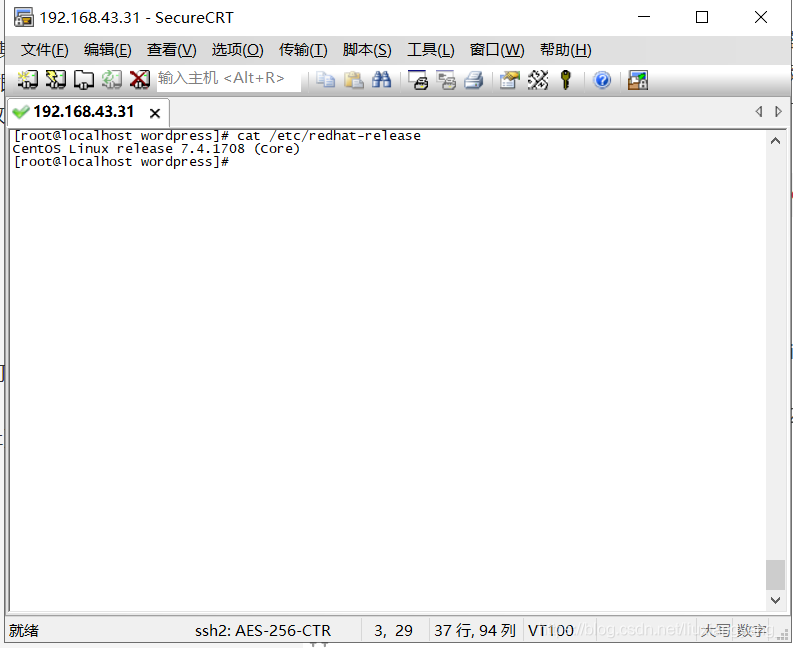
我们这里使用的是Centos7.6的linux系统,安装Min模式或者Server都可以(建议大家选用阿里云的服务器,云主机)如果大家有在阿里 的云主机,推荐大家访问这篇文章
https://yq.aliyun.com/articles/221634。阿里有一键安装LNMP或者LAMP的安装件使用起来很方便不过是收费的。
这里我们已经配置好服务器的网络以及IP地址:192.168.43.31(内网地址)用SSH工具连接进去
2.将服务器的yum源更换为阿里云的,这样使用起来就方便了许多
1 | curl -o /etc/yum.repos.d/CentOS-Base.repo http://mirrors.aliyun.com/repo/Centos-7.repo |
3.搭建LNMP组合,当然了也可以使用LAMP组合,不过下面的步骤可就不一样了
安装nginx,sql, php
NGINX
手动添加nginx的rpm包
1 | rpm -ivh http://nginx.org/packages/centos/7/noarch/RPMS/nginx-release-centos-7-0.el7.ngx.noarch.rpm |
添加好之后安装nginx
1 | yum install -y nginx |
PHP
安装php之前先得更新一下php的rpm包,因为一般情况下,操作系统里默认的php的rpm包版本都比较老。我之前装的是5.4.16,但是最新版本的wordpress5.2.2要求的php版本是5.6.20以上。(如果php的版本不对,会在打开安装好的wordpress时,报错误的)。
1 | rpm -Uvh https://dl.fedoraproject.org/pub/epel/epel-release-latest-7.noarch.rpm |
添加好之后安装php
1 | yum install php70w-fpm php70w-mysql -y |
MYSQL
这里我们到了LNMP的最后一个了就是装数据库,原先的mysql已经被mariadb代替,所以不用多想,一条命令快速安装mariadb
1 | yum install mariadb-server -y |
启动数据库服务(mariadb)
1 | systemctl start mariadb |
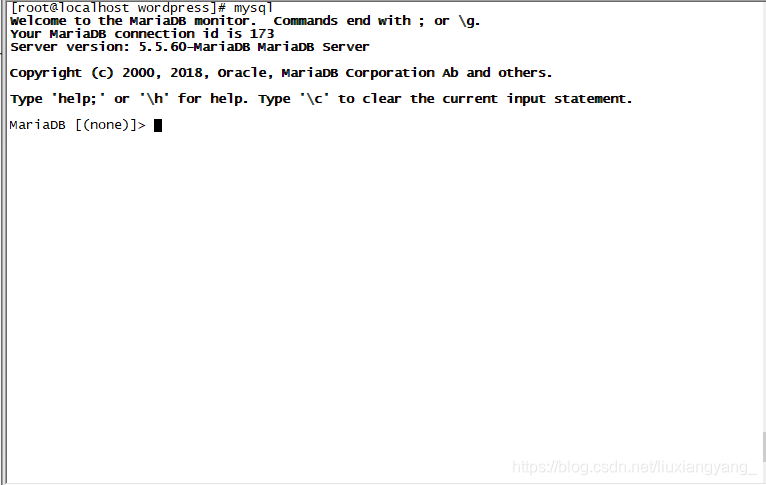
连接数据库,直接mysql无密码进入
创建wordpress用的数据库。名字你可以自行决定。
1 | create database wordpress_db; |
给新建的数据库设置用户名和密码。我这里设置的是wp_account和wordpress_password,你也可以自行调整。
1 | grant all privileges on wordpress_db.* to wp_account@localhost identified by 'wordpress_password'; |
二、主角Wordpress登场
1.这里我们安装最新的Wordpress,去官网下载最新的版本,使用wget命令下载到/usr/local/src/目录下面
1 | wget https://cn.wordpress.org/latest-zh_CN.tar.gz |

2.这里我们养成良好的文件目录放置习惯,避免文件过乱找不到东西。在根目录创建一个www的文件夹存放wordpress的解压文件。这个目录我们要记住的,后面nginx的配置需要这个目录的(/www/wordpress/)
1 | mkdir /www |
3.修改Wordpress的配置文件
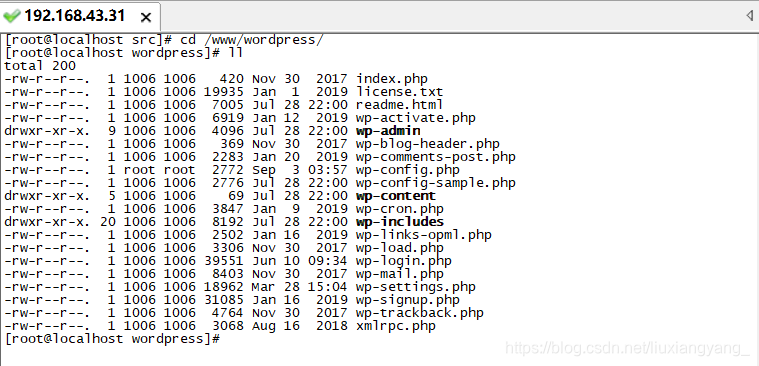
默认的配置文件只有wp-config-sample.php,我们需要从它复制一个wp-config.php出来,这才是真正的配置文件。
1 | cd /www/wordpress |
打开wp-config.php之后,找到文本内容中下面的位置。把上面修改的数据库信息填上。(只需要修改这三项即可,记住不要将数据写错了,否则数据库会连不上报错的)
1 | /** WordPress数据库的名称 */ |
三、Nginx配置(重要)
1.修改nginx的配置文件
1 | vi /etc/nginx/nginx.conf |
把wordpress网站相关的信息配置进去。这里给大家提供我的配置文件当做参考。
注意你们只要修改两个地方(下方配置文件的两个注释)。
A:你的服务器的ip地址
B:你的Wordpress的文件目录
如果你没有创建新的目录存放wordpress根目录的话,按照我们上述的操作来的话就是
/www/wordpress/
nginx.conf
1 | user root; |
四、大功告成
这里我们将所有安装的服务开启即可访问我们搭建的Wordpress了。是不是有点小激动,哈哈
万事俱备,只欠东风,这里我们将服务全部开启一下
开启命令收下
1 | systemctl start mariadb #开启数据库 |
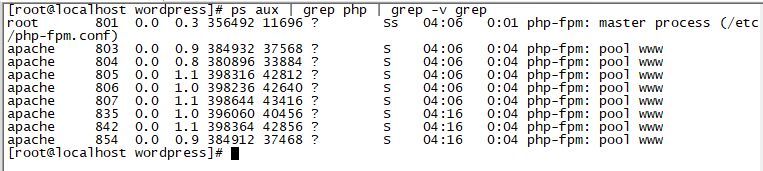
检查是否起来,还记得我们前面所说的查看一个应用是否已经起来,有两种方式一种是通过进程,一种是通过端口来看。
1 | 这里我们将查询的进程过滤掉 |


这里我们访问服务器的IP地址,即可看到一个欢迎界面
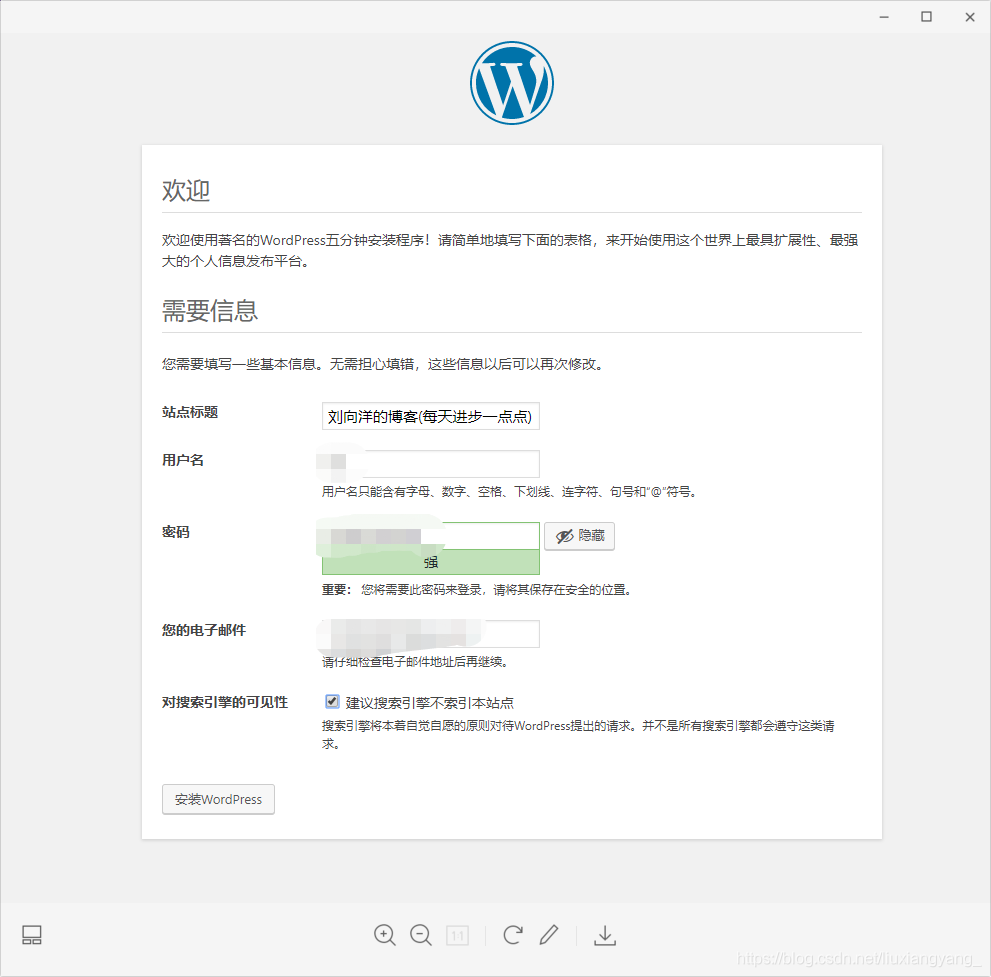
将账户密码邮箱等信息配置之后,即可点击安装喽!等待一小会就会自动生成一个网站了
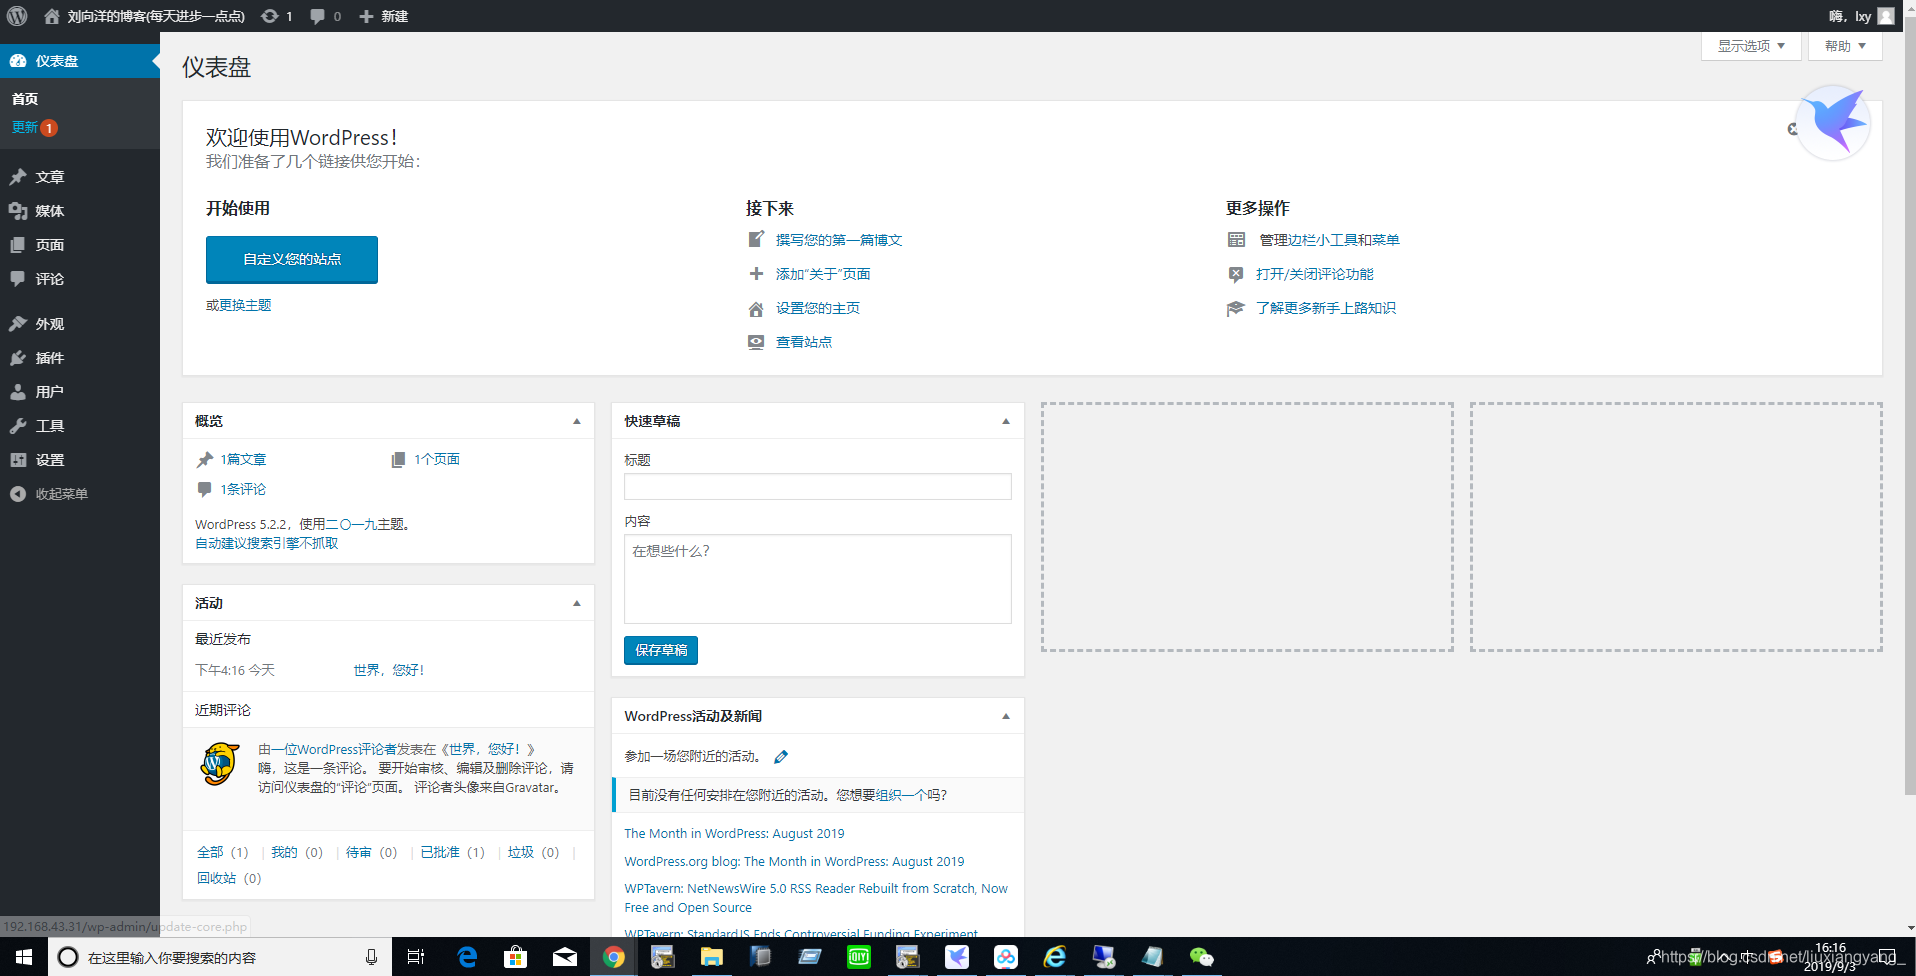
后面文章教教大家如何使用Wordpress,这篇文章就记录到此。
![微信]() 微信
微信![支付宝]() 支付宝
支付宝


.jpg)

| {{date}} | {{temperature}} | {{humidity}} | ||
| {{time}} | ||||
| {{ip}} | {{city}} | {{daylight}} | ||